Introduction :
Drawing different geometric shapes using the putpixel() function is a very interesting task in the graphics programming world. You have to manipulate individual pixels to draw various geometrical shapes using putpixel() function. You can create various shapes such as line, rectangle, circle and more shapes using loops and mathematical calculations.
Using putpixel() function, you can control individual pixels on the screen by specifying their coordinates and color. In the article, I shall explore you how to create different shapes on the screen using the putpixel() function by C or C++ Programming Language. Here, I show you how to manipulate pixels to create visually appealing graphics on the screen.
What is putpixel() function :
The putpixel() function is a function of the graphics.h library of Turbo C++ IDE. It is commonly used in graphics programming to set the color of a pixel at a specified position on the screen. Using this function, you can draw point, line, rectangle, circle and more on a graphics window or screen.
Syntax of the putpixel() function
void putpixel(int x_coordinate, int y_coordinate, int color);
Where x_coordinate is the value of the x coordinate of the pixel. The y_coordinate is the value of the y coordinate of the pixel. The color is the index of the color of the pixel.
The putpixel() function is useful for different type of grograms such as drawing shapes, image processing, animation programs, game development and more.
About the program :
This program is a simple animation program where I draw line, rectangle and circle on the graphics screen. Here, I use putpixel() function to display the all shapes on the screen in slow motion. Once you run the program on your pc, you can see creating of a line, rectangle and circle one by one on the screen. It looks like an animated program run on your pc. When you press any key, the program will be stopped.
Explanation of the program :
In the program, first include the necessary header files such as graphics.h, conio.h, dos.h and math.h for various functions. In the main() function, you have to declare “xmax”, “ymax”, “i”, “x”, “y”, “p” , “q”, “r”, “graphic_driver” and “graphic_mode” variables. Then, using initgraph() function initialize the graphics mode.
Now, store the maximum x and y coordinates of the graphics window in “xmax” and “ymax” variables using getmaxx() and getmaxy() functions. After that, set the background color of the graphics screen using setbkcolor() function. Now, using loop draws a line which moves horizontally across the screen. Another loop is used to draw a rectangle on the screen.
At last, using polar coordinates which calculate by trigonometric functions (cos and sin) draw a circle on the screen. Creating a smooth animation effect, you have to use delay() function in the all loops. To get a key press, you can use getch() function. Finally, close the graphics mode using closegraph() function.
How run the program :
At first, you have to install the Turbo C++ IDE on your pc. Now, open the Turbo C++ IDE and create a new file. After that, copy the source code and paste in the file. Save the file with a .c or .cpp extension. If you want to know how to copy paste in the Turbo C++ IDE, just click here. You can also know how to use graphics.h in Turbo C++ IDE from my other post.
Source code :
The following code is the source code of the program using C or C++ graphics programming language.
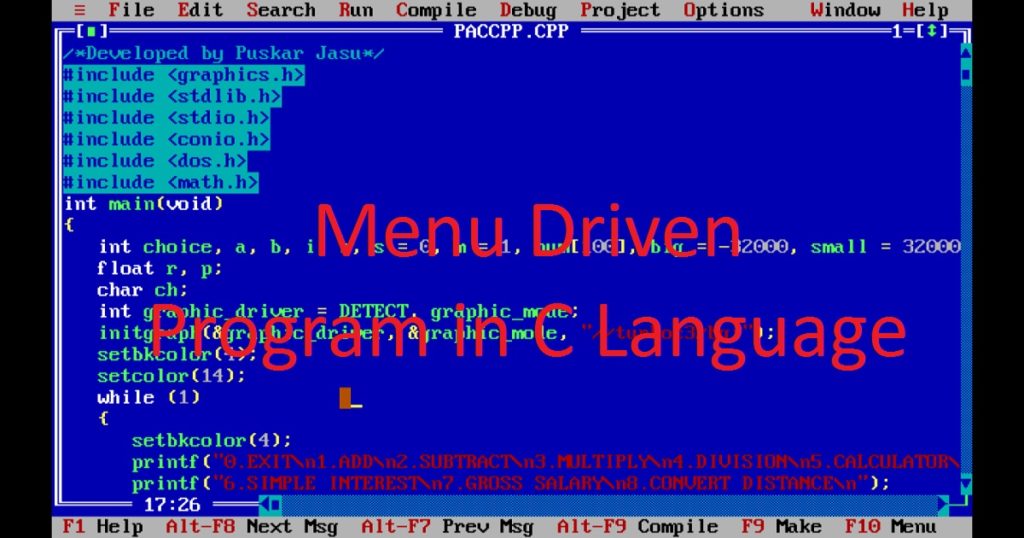
/*Developed by Puskar Jasu*/
#include <graphics.h>
#include <conio.h>
#include <dos.h>
#include <math.h>
int main()
{
    int xmax, ymax;
    int i, x, y;
    int p, q, r = 100;
    int graphic_driver = DETECT, graphic_mode;
    initgraph(&graphic_driver, &graphic_mode, "//turboc3/bgi");
    setbkcolor(4);
    xmax = getmaxx();
    ymax = getmaxy();
    x = xmax / 2 + 50;
    y = ymax / 16;
    for (i = 50; i <= xmax / 2 - 50; i++)
    {
        putpixel(i, ymax / 4, 9);
        delay(20);
    }
    for (i = 1; i <= 200; i++)
    {
        putpixel(x, ymax / 16, 10);
        putpixel(xmax / 2 + 250, y, 10);
        putpixel(xmax / 2 + 250 - i, ymax / 16 + 200, 10);
        putpixel(xmax / 2 + 50, ymax / 16 + 200 - i, 10);
        delay(20);
        y++;
        x++;
    }
    for (i = 0; i <= 360; i++)
    {
        p = r * cos((i) * 3.14159 / 180);
        q = r * sin((i) * 3.14159 / 180);
        putpixel(xmax / 2 + ceil(p), ymax * 3 / 4 + ceil(q), 14);
        delay(20);
    }
    getch();
    closegraph();
    return 0;
}
Output :
After running the program on your pc, you can see the below image as output.
Conclusion :
Now, you have learned how to create basic shapes (line, rectangle, and circle) using the putpixel() function on the screen. After reading this article, you can create more complex graphics program in your pc. Thanks you for visiting my site.